Putting together my aprons is so much fun! Choosing the right doily, the right lace, the right buttons -- it all takes time. Sometimes I have in mind which of these items to use, but for the most part, it takes quite a while to pull all of these things.
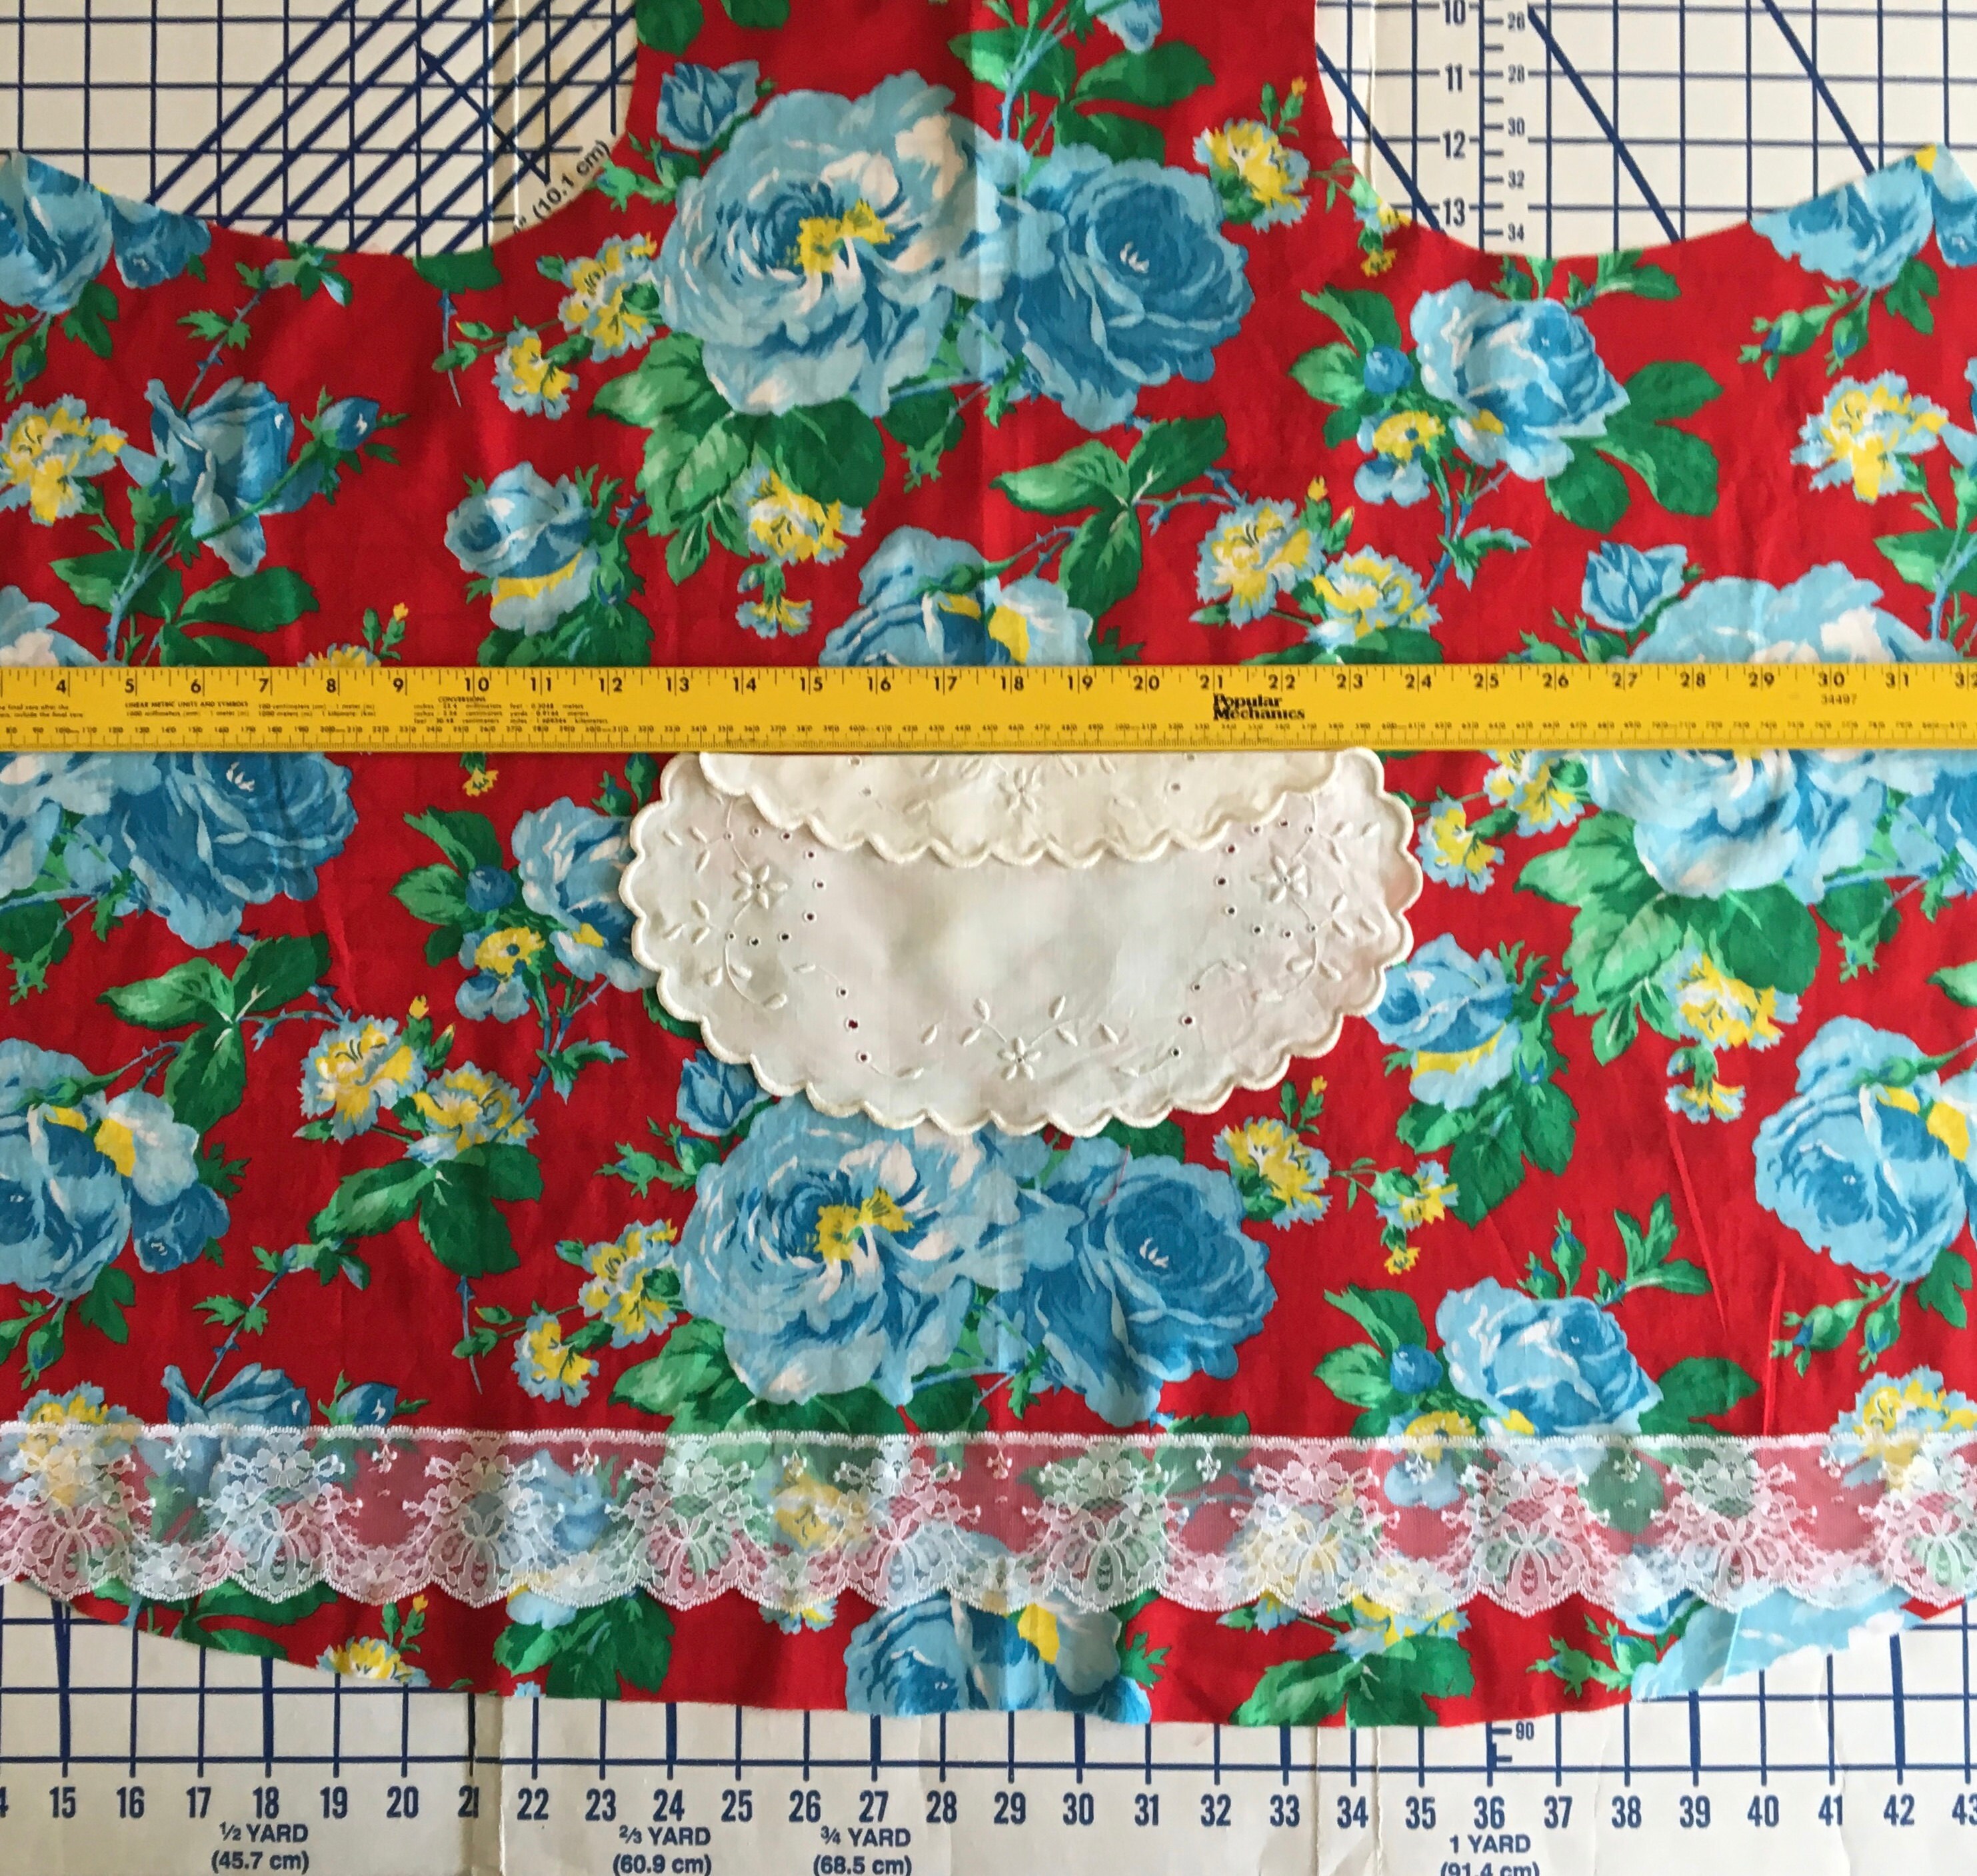
First, I choose the doily for the pocket. The skirt shape helps narrow this choice, but then four or five will be pulled to find the best match for the fabric design. The apron then gets laid on a large cutting board because it is a great place to center the doily on the apron and pin it in place. A yard stick helps with this task.
Next, the lace boxes come out, and the same process is repeated. The lace is aligned with the cutting board grid work, again using the yardstick to help. Both the doily and lace are sewn onto the apron.
Next comes the bias tape for the edging and ties. Usually it is easy to choose the right color, but sometimes I just have to do the best possible. Vintage fabrics often are particularly hard to match. Lately I have been enjoying adding bias tape to the back edges of straight-edged aprons instead of just hemming them.
The buttons are not chosen until the apron is completed. The buttons are sewn on by hand, usually in the evenings after machine sewing is finished for the day. I have absolutely no idea how to use the button attachment on my sewing machine!
Of course, everything starts with a great piece of fabric. Which one will I choose next?